Mounting and Partitioning
You may need to allocate more space to an instance or a separate one for backups. Here, we will help you add new space and partition to your instance based on Linux and Windows OS.
How to Partition and Mount Instance Volume in Linux
After creating your instance, select the instance you want to increase its storage from the instance list and connect to it.
After attaching the volume to your instance, you need to connect to your server.
Please note that all of the commands in this article must be run with root access.
Use the command below to make sure that the extra volume is added. This disk is usually placed at the bottom of the list and has no partitions.
lsblk

Now, you can partition and mount this volume with two methods, convert it to a file system or partition it.
- 1st Method: Convert All Instance’s Volume to a File System
Use the following command:
mkfs.ext4 /dev/yourdiskname

Please note that all disk space will be converted to a file system, and if you want to partition the file in the future, all of the stored data will be lost.
Next, you need to mount this file to a directory. Use the following command (write your preferred name instead of youredirectoryname. For example, here, we have used the name Sample):
mkdir /youredirectoryname
mount /dev/vdb / youredirectoryname

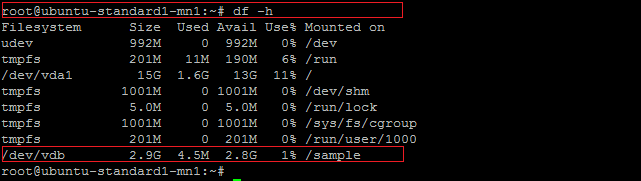
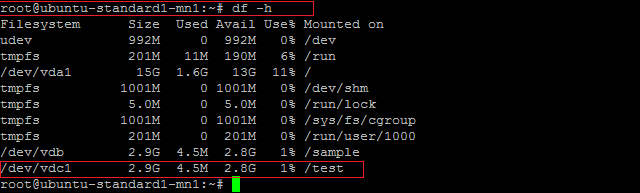
Now, you can make sure that your file is mounted correctly with this command:
df -h
- 2nd Method: Partition New Volume
Here, you can divide the newly added volume into different partitions in which you can store different data. To begin this method, use the following command:
fdisk /dev/yourdiskname
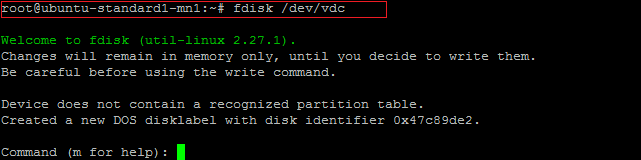
Next, choose the n option to create a partition.

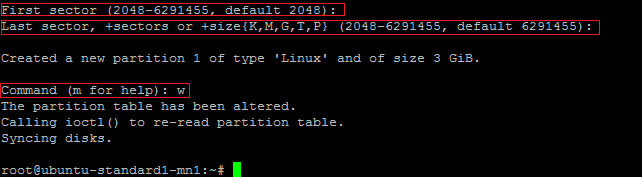
After that, you can determine the partition type (primary or extended). For example, choose the p option to create a primary partition. Next, consider a number for your partition.

After, you can determine the partition volume. If you wish to allocate the whole volume to one partition, then you pass the next two steps by pressing Enter. Finally, use the w option in the final step:
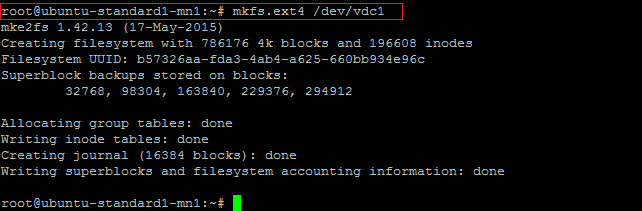
Now that you have created your partition, you need to format it. Here is the instruction:
mkfs.ext4 /dev/yourpartitionname
The last step is to mount this partition to a directory. First, create the directory, then mount the partition to it:
mkdir /youredirectoryname
mount /dev/yourpartitionname / youredirectoryname

To make sure that the volume is mounted to the directory, use the command below:
df –h
How to Partition and Mount Instance Volume in Windows
After creating your instance, select the instance you want to increase its storage from the instance list and connect to it.
After you have attached a new volume, you can follow the instructions below to use the space:
Right-click on Start and select Disk Management (or press Windows key + R to open the Run window and type diskmgmt.msc).

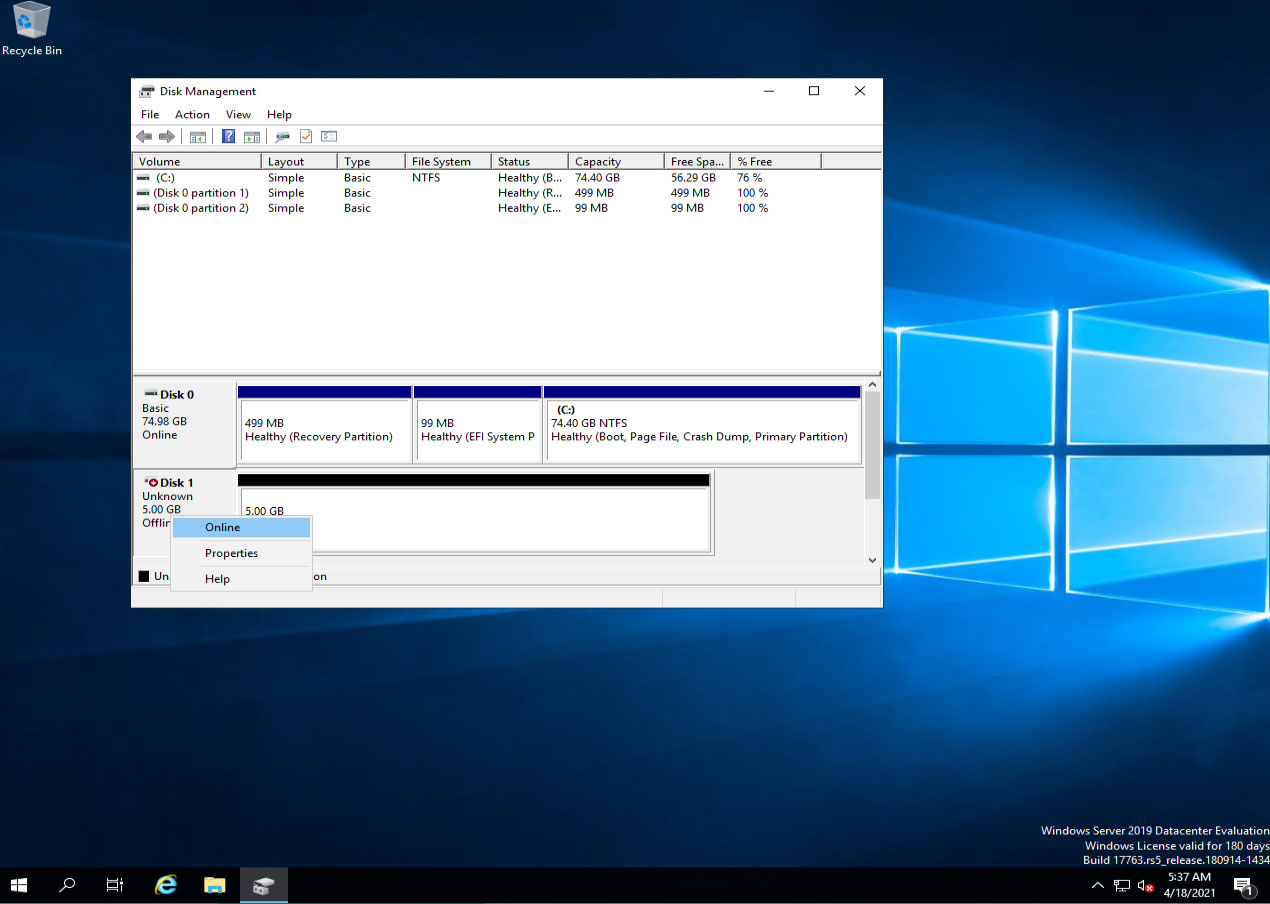
On the Disk Management window, go to the end of the list, right-click on the disk, and select Online.
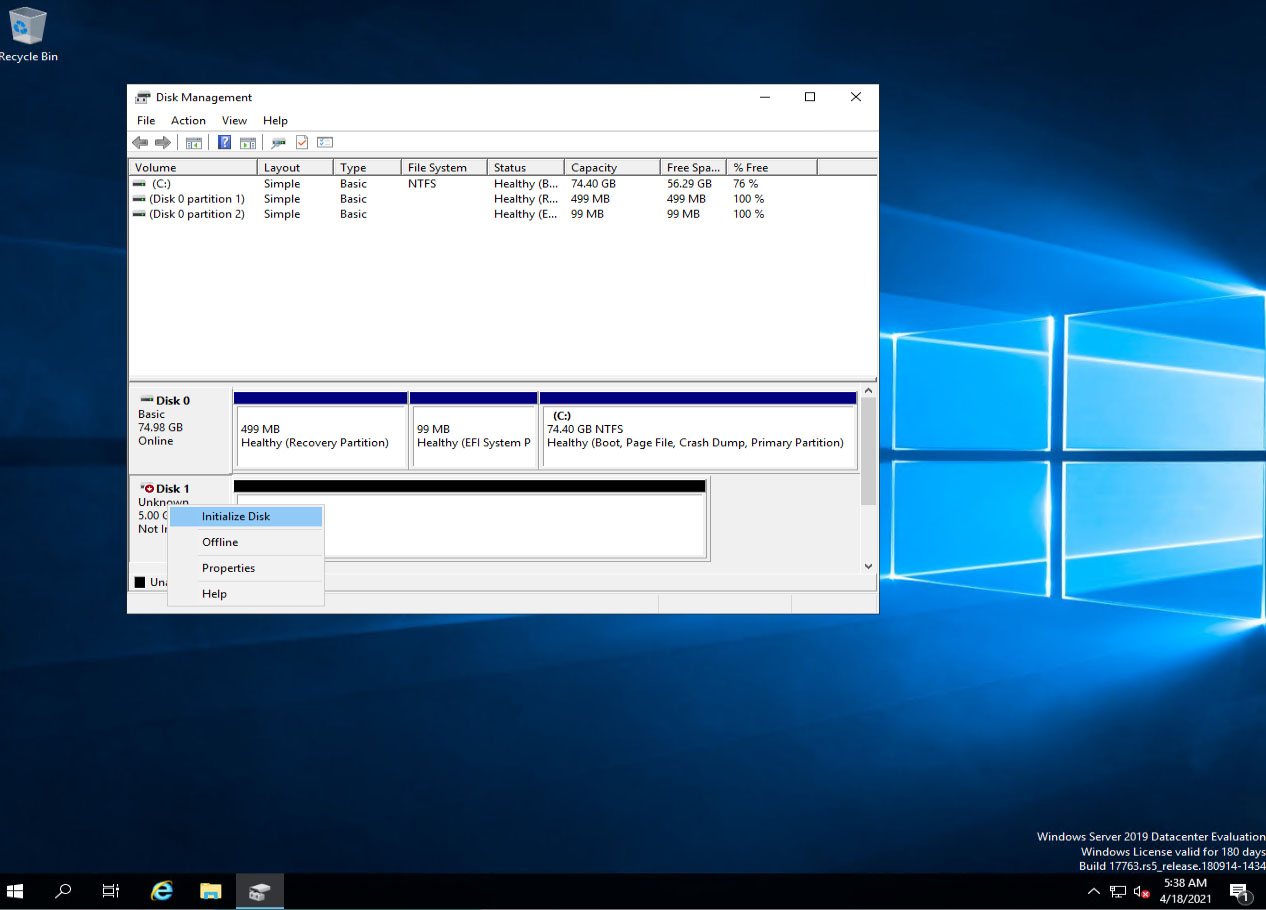
Next, click on the disk and select Initialize Disk.
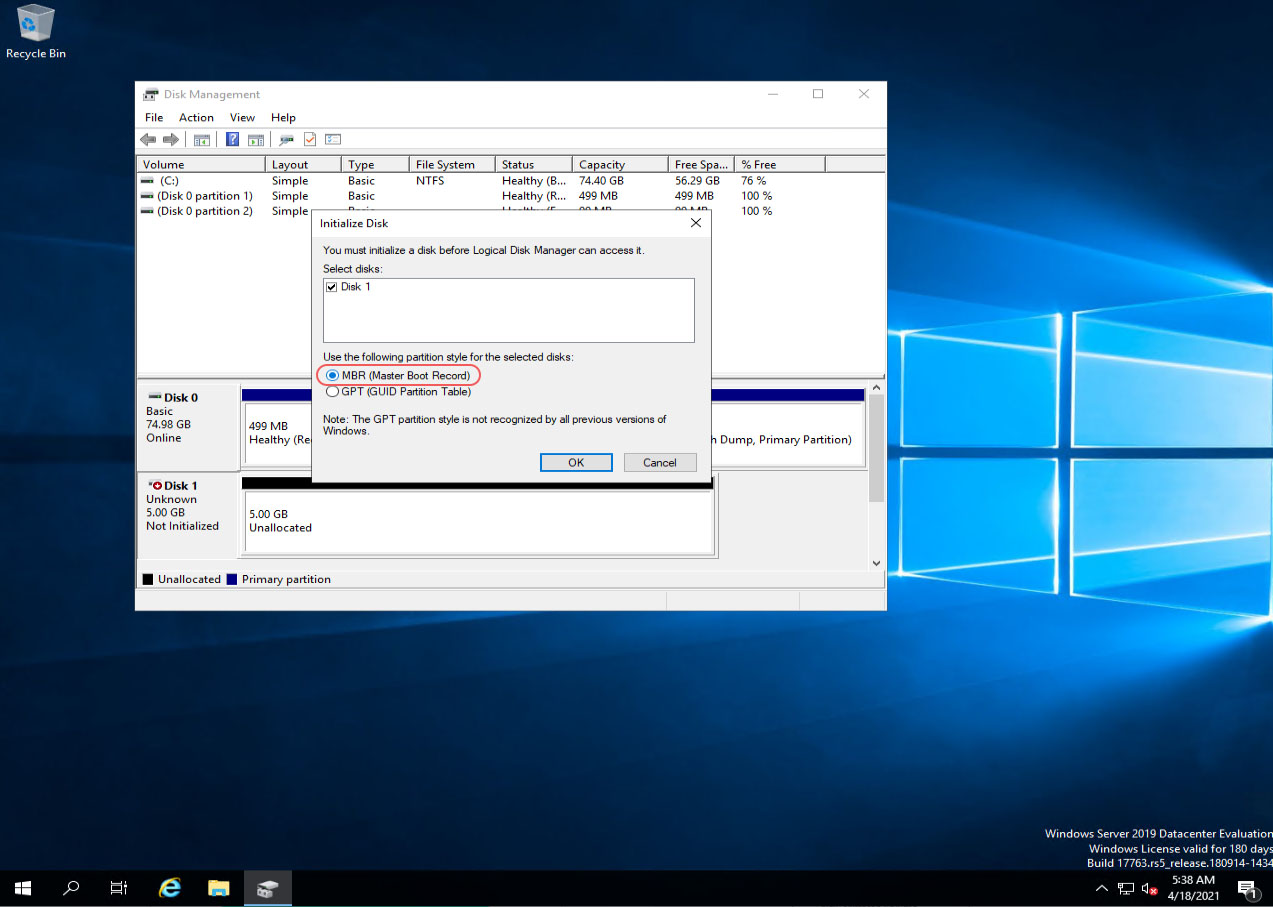
Choose the MBR option on the Initialize Disk window and click OK.
Then, right-click on the new disk again and select New Sample Volume.
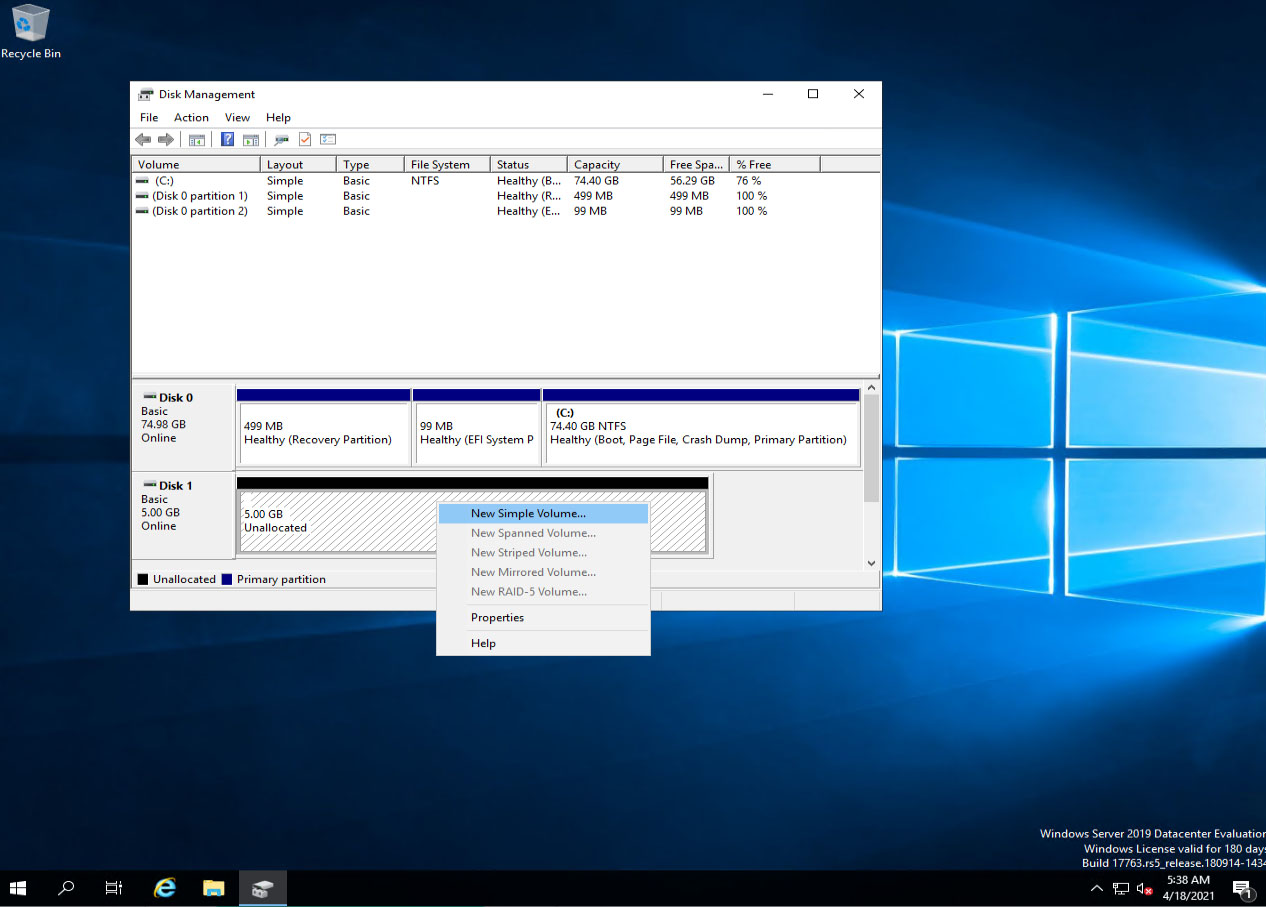
After selecting this option, the New Sample Wizard window will open. Select the Next option to move to the next step. In the next steps, you can determine the amount of space from this disk that you want to allocate to a new drive, as well as the name of this drive and the format of the disk. Then, review and apply the changes by clicking on Finish.
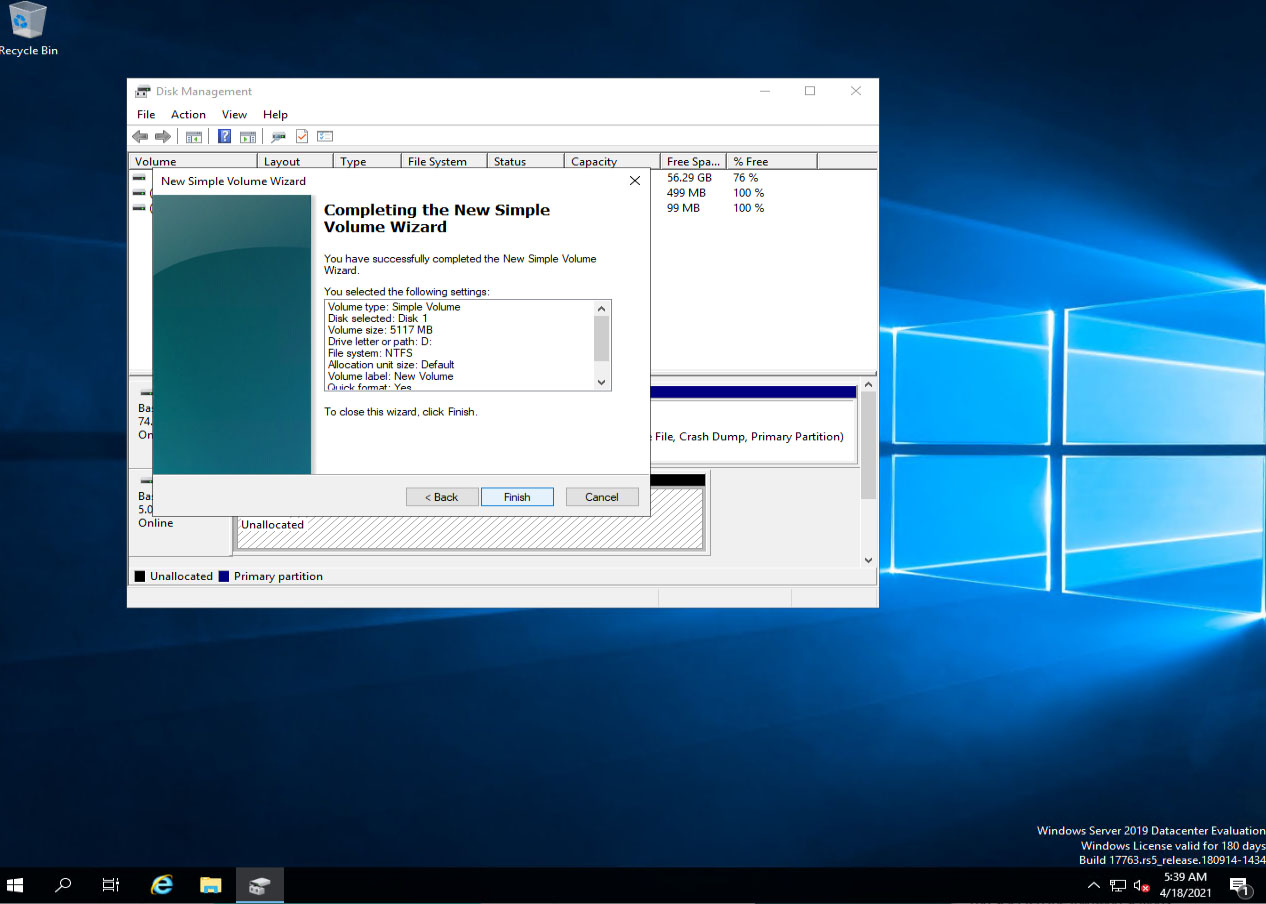
The new drive will be added to the drive list in Disk Management and to the My Computer folder.