Custom Images
You can use Arvancloud’s Custom Images feature to install an OS file from your local device on an instance. You can also create an archive of these operating systems to use when necessary.
Loading Custom Operating System to Create an Instance
To create a custom OS on the Arvancloud user panel, go to Cloud Server and click on Custom Images. Then, click on Upload Image.

To upload the image, you can either drag and drop your file or select it through Browse on the opened window.
Please note that the acceptable formats for the custom OS are raw, qcow2, vmdk, iso, img, vhd, and vmdk. The maximum file size is 200 GB.
Creating an Image to Upload on Arvancloud’s Instances
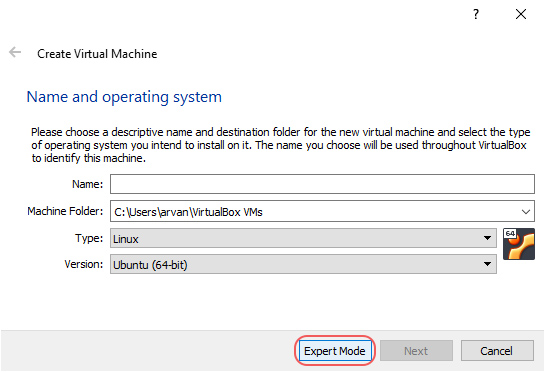
To create an Image manually, you need to use the custom OS’ iso file to install a VM on one of the well-known Hypervisors. To make the process easier, here we use Virtualbox. First, in the panel below, select the Expert Mode option.
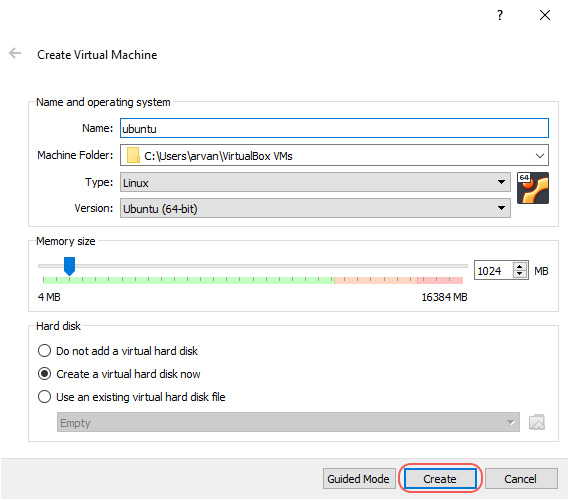
Enter the information such as Image name, storage address, and storage space. Then, click on Create.
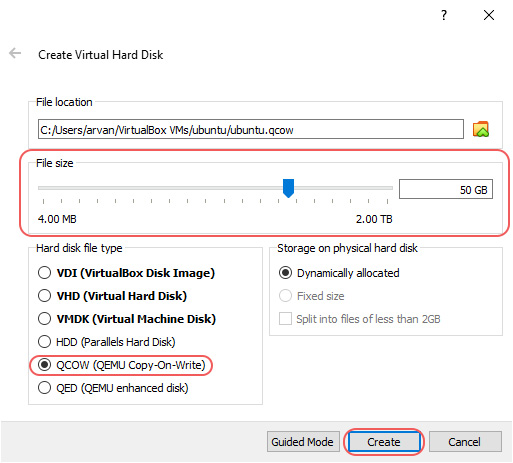
In the next step, as you can see, set the Hard disk file type to QCOW and set the File Size to the smallest possible value. Finally, click Create.
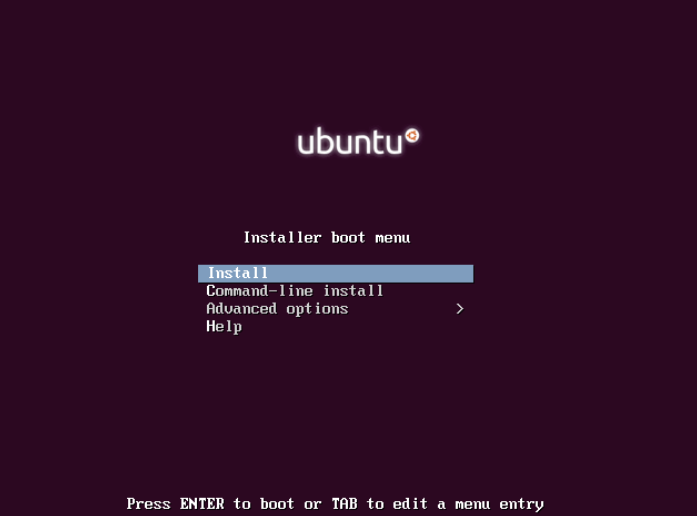
Next, turn on the virtual machine that you have already created and enter the installation stage by selecting the Install option.
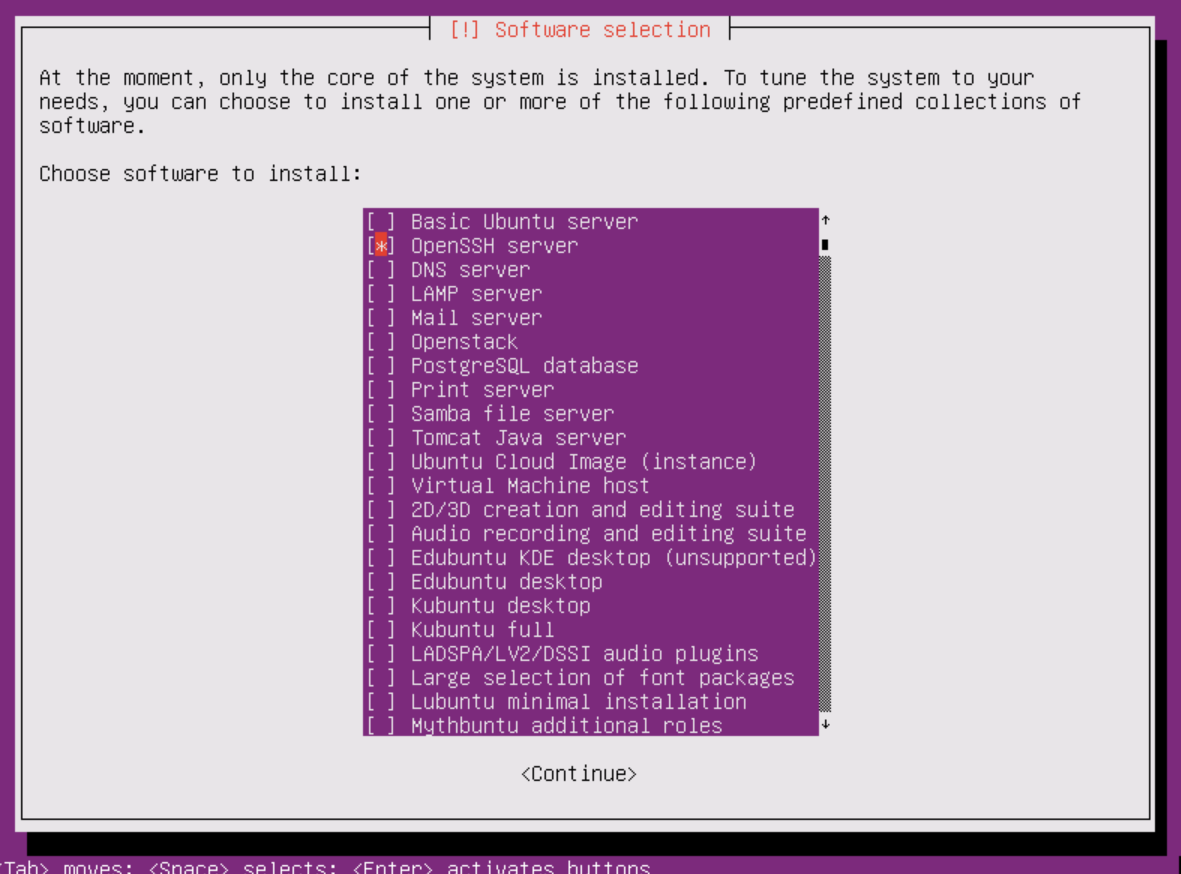
Select OpenSSH Server.
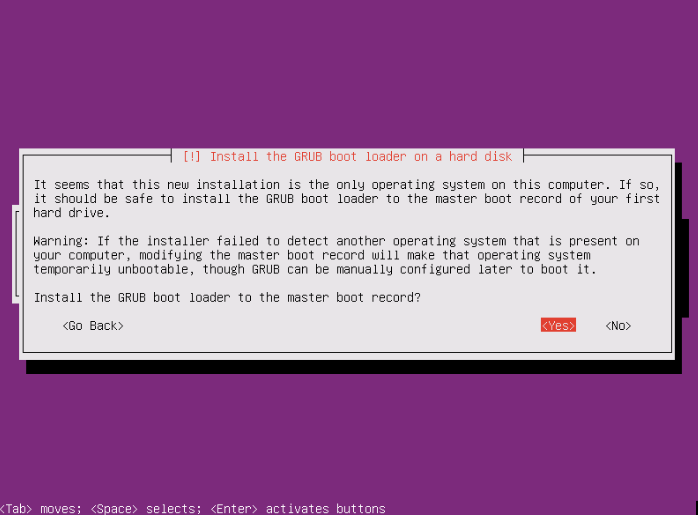
Click on Yes.
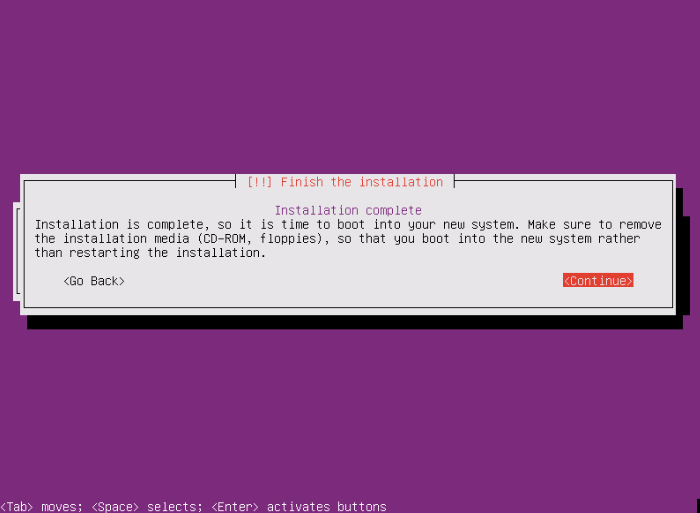
Once the OS installation is complete, you need to install the cloud-init software to have your Image work in sync with the cloud components. Here is how:
apt-get install cloud-init
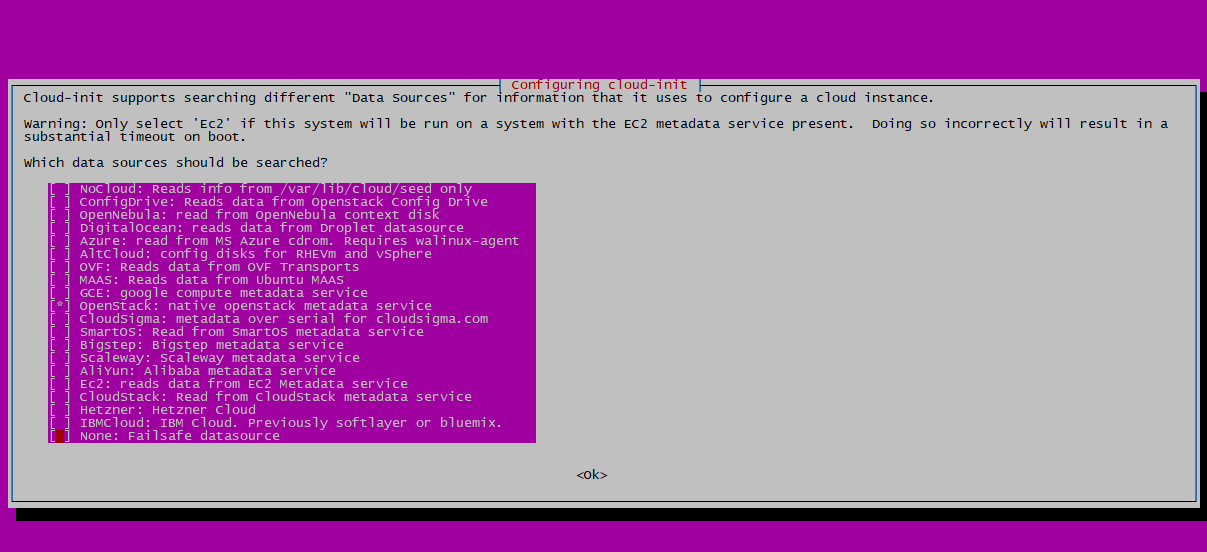
dpkg-reconfigure cloud-init
Select None in the Data Source.
You can change the default username and password through the cloud.cfg file in the /etc/cloud/ directory:
vim /etc/cloud/cloud.cfg
Then, you can install the software and packages you want. For example, you can install the Nginx webserver. After this installation, every time you create an Instance using this Image, the Nginx web server will be installed on it. Turn off the VM after you have installed your software.
You can save the stored qcow file in the VM Machine directory of your Arvancloud panel. However, we recommend that you convert the qcow file into raw to have a faster experience. Here is how:
To convert qcow to raw, first, download the qemu-image software for Windows.
Then, follow this command:
qemu-img convert -f qcow -O raw Ubuntu-WebServer.qcow Ubuntu-WebServer.raw
Finally, to sysprep the Image, you can use the Ubuntu bash that can be installed in Windows 10 and continue with this command:
apt-get install libguestfs-tools

virt-sysprep –a Ubuntu-WebServer.raw