Network
You can manage the internal connections and the access type of your instance, which you have grouped in different VLANs, by configuring the Arvancloud network settings. Therefore, you can run a small data center with your preferred configurations. VXLAN (the developed version of VLAN) is used in the Arvancloud infrastructure. Each user can create and manage a new network without worrying about its interruptions from other networks. For example, a private network can be made for the database and application server instances. Establishing connections without needing them to be visible on the internet is possible. Therefore, you can divide these different services and improve their security.
Internet
If you wish for your instance to be accessible through the internet, you need to assign an IP to it to include it in the internet network.
To assign an IP, go to the Networks section of your user panel, under the Cloud Server, then click on the Internet IP option at the top of the page.

After submitting the request, an IP will be assigned to your instance.
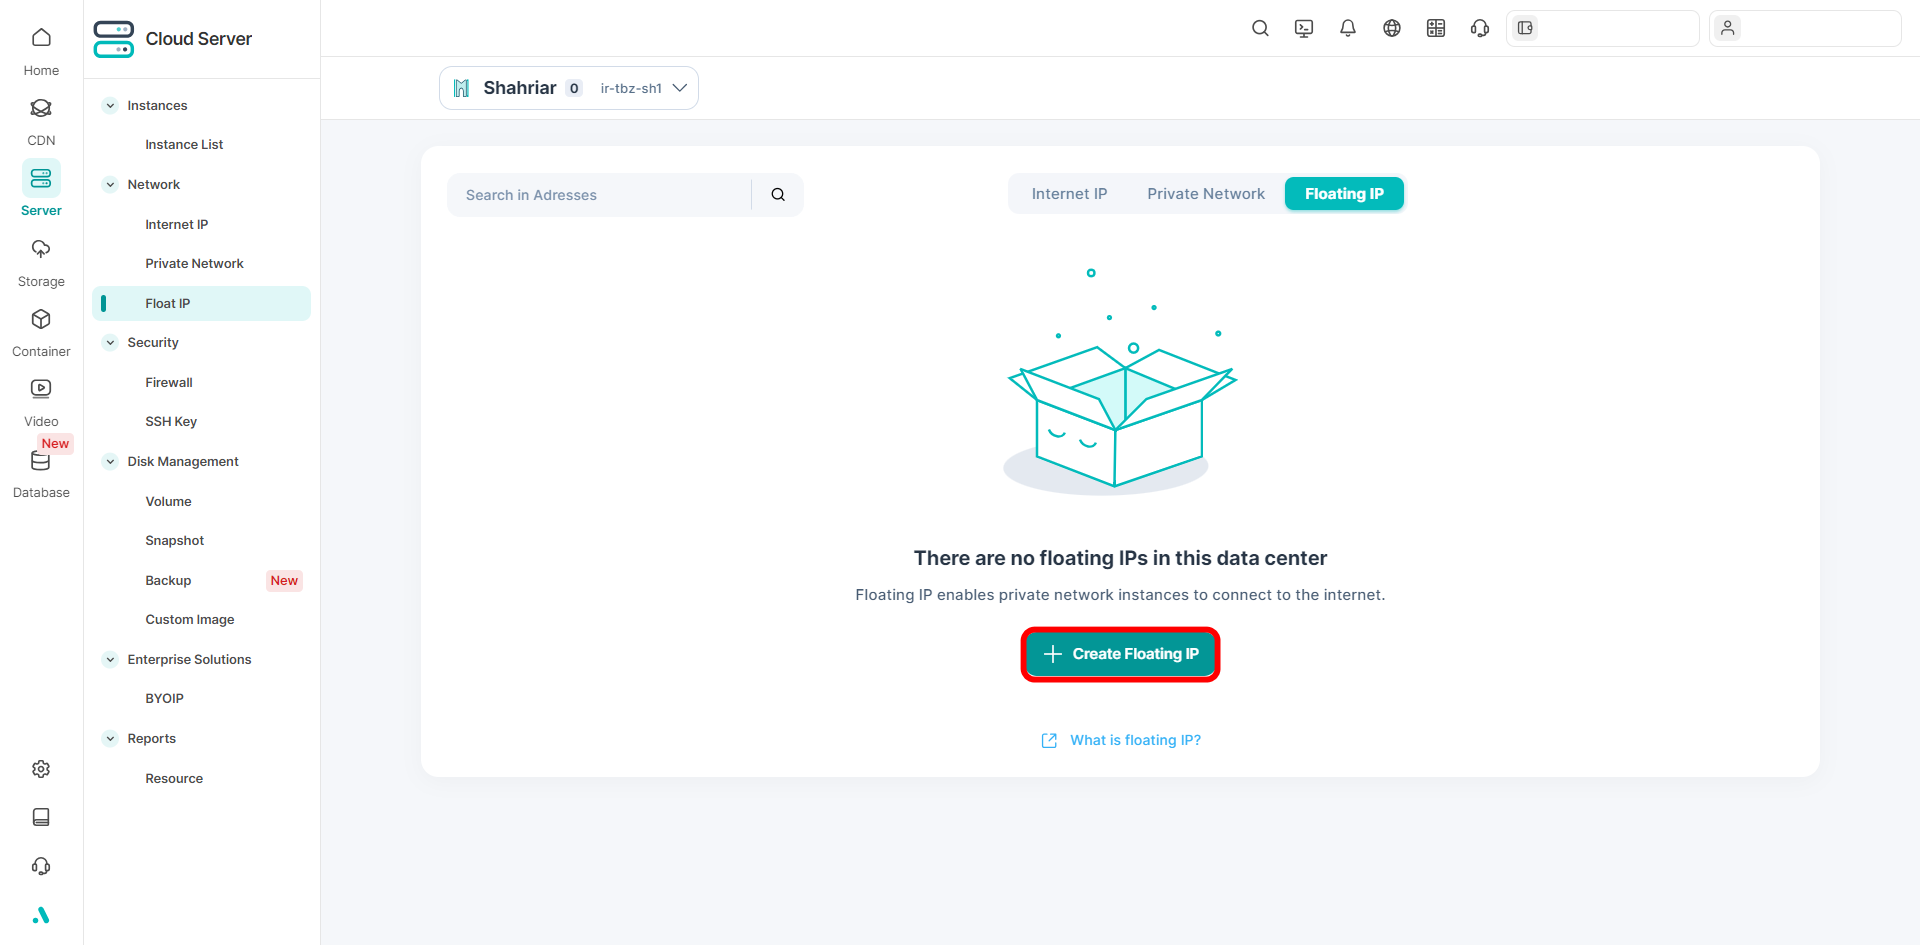
Floating IP
When you create an instance, it has an IP address by default. However, when you create an instance in a private network, your instance's IP will be in your defined network range. Thus, you would not be able to access the internet from your instance. This is where floating IP becomes important.
The floating IP will NAT a valid IP address to your instance so you can access the internet from it. This way, you will not see any IP addresses in the instance other than the private network address.
To assign a floating IP, go to the Networks section of your user panel and click on Float IP. next, select the Assign Floating IP option.
You can add the optional details on the opened window and then select Assign IP. the system will automatically assign you an IP in a few seconds.
Private Network
The Arvancloud’s Private Network feature allows you to establish connections between your instances and deploy your developments and solutions. To create a private network, go to the Networks section of your user panel and select Private Network at the top of the page; next, click on Create.
 You can configure your preferred advance setting on the opened window.