Instance Data Recovery
Despite the advantages of virtual machines, they can become inaccessible due to damaged file systems, damaged or wrongly configurated boot loader, forgotten username, password, etc. A rescue disk is used as a solution to this problem. First, a Liveboot software will run the instance so that you can access the files. You can simply mount your cloud disk and transfer your files to another instance or change the password.
Using Finnix Rescue Disk
In this method, it is necessary to use the rescue disk to access the information of the instance's main disk. Go to your Arvancloud user panel and find the Instances list under the Cloud Server section. Click on the damaged instance Rescue Mode from the action menu. Confirm the change to Rescue Mode.

Finnix is a rescue disk based on the Debian OS with various features such as mount, partitioning, rebuilding boot records, and rescue system.
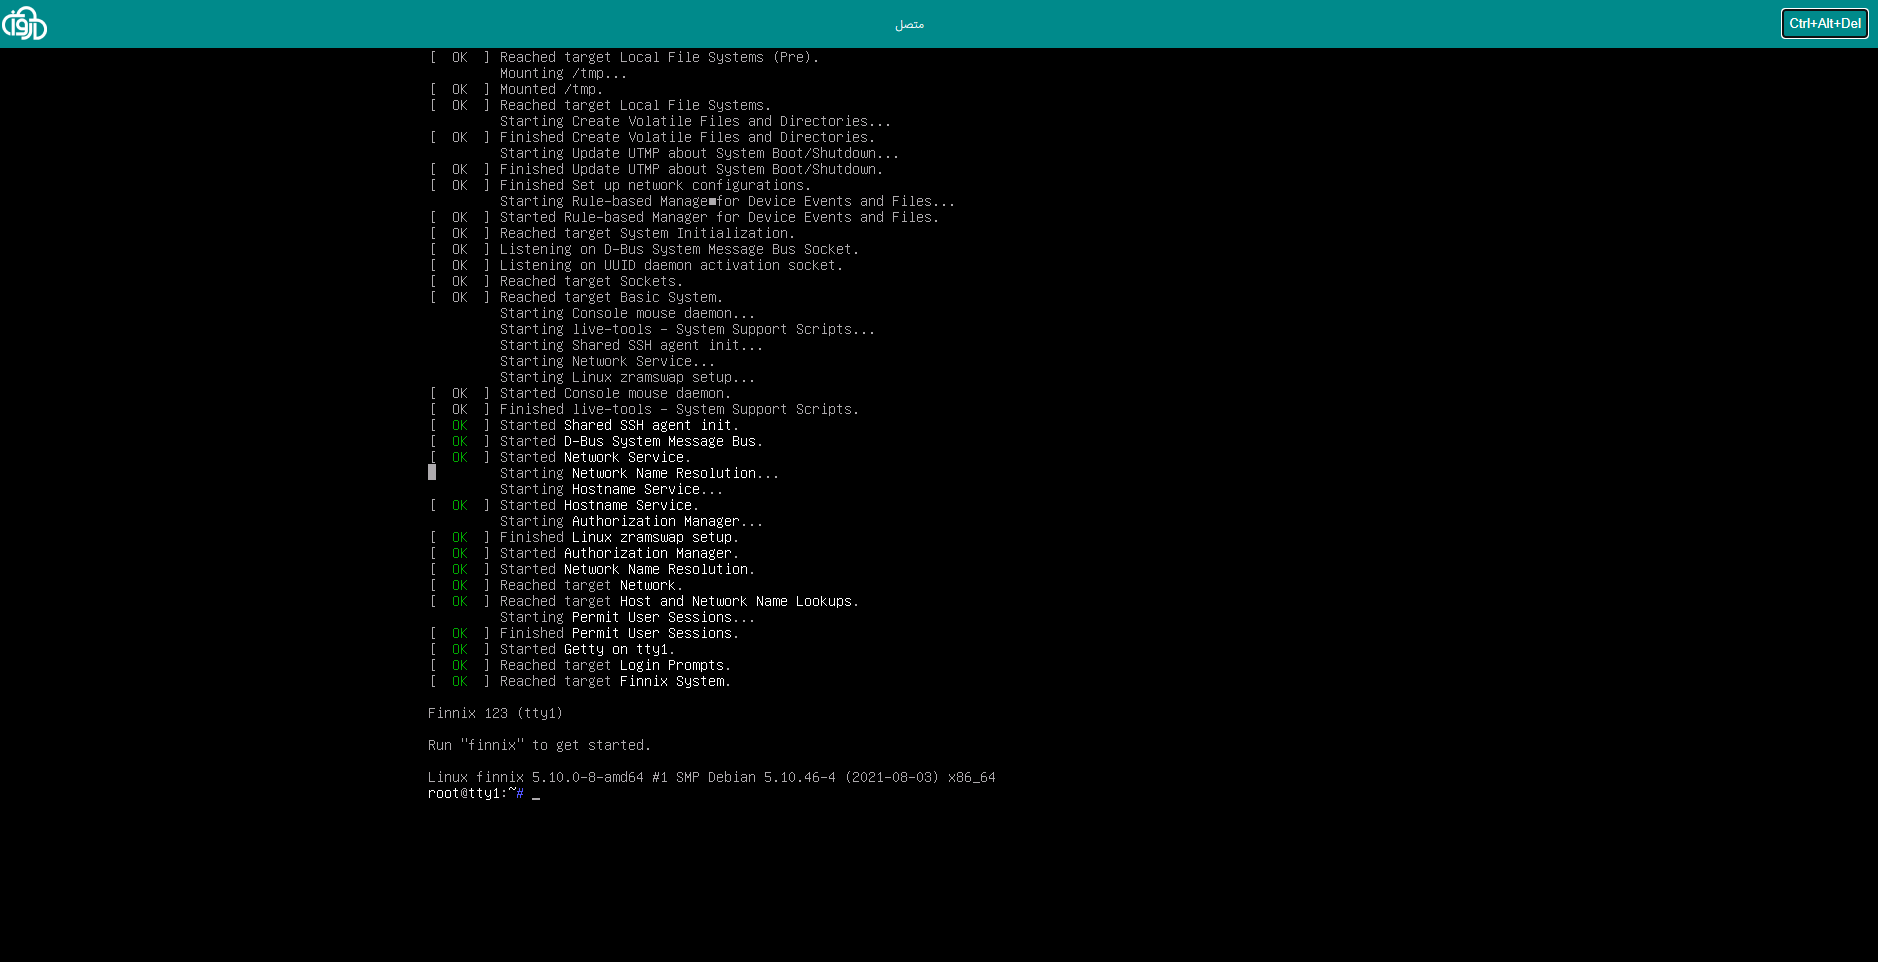
After booting, you will encounter the picture below. Click on Boot Finnix 64Bit to continue.

When a window like the following opens, you have successfully loaded the rescue disk.
Changing Root Password
Changing the Root password or for a specific user is very easy and quick to do with Finnix. Simply mount your original disk following the command below.
Please note that you must use the operating system’s main partition for these commands.
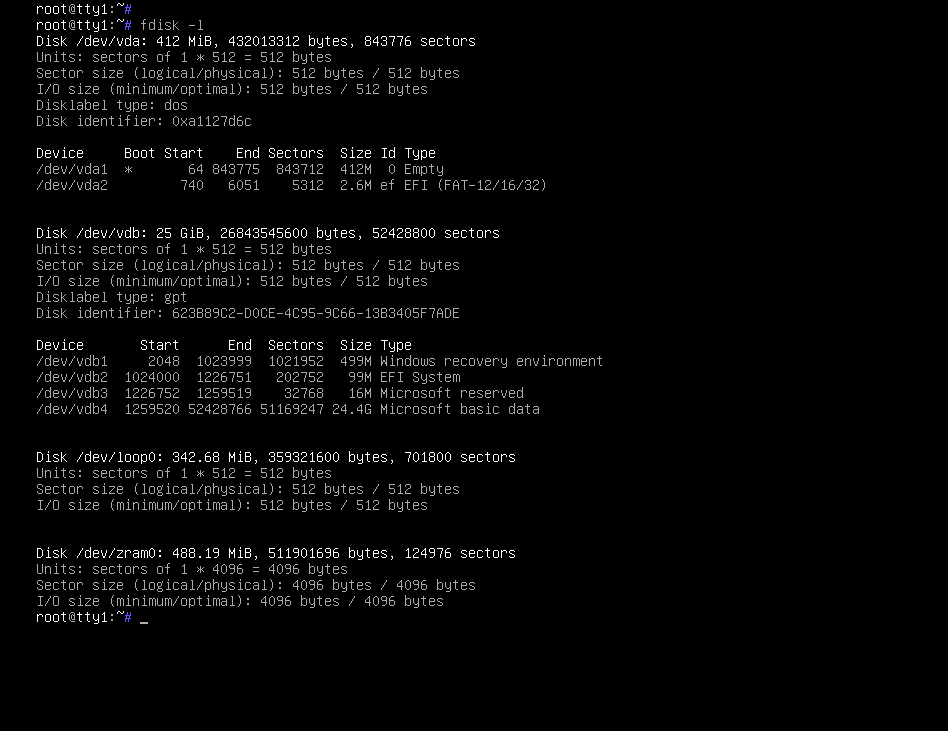
To find the instance’s main partition, use lsblk or fdisk -l commands and choose the partition that has the biggest size as the main one. For example, here, the main partition is vda2.
mount /dev/vda2 /mnt
Then change the password using the following command.
chroot /mnt passwd
The system will ask you for a new password. Once you are done, you can exit the rescue disk and return to your OS.
Changing Windows Password
Determine the windows disk with the following command.
fdisk -l
The picture below shows a vdb1 disk with boot and NTFS format. This means that windows is installed on the disk.
Use this command to create a directory.
mkdir /mnt/win
Next, mount the windows disk with the command below. You must use the main partition of the operating system.
Use the fdisk -l command to identify the main partition and choose the one with the biggest size as the main one. In this example, the main partition is vdb4.
mount /dev/vdb4 /mnt/win
The message below means that your mounting was unsuccessful.
The disk contains an unclean file system (0, 0).Metadata kept in Windows cache, refused to mount. Falling back to read-only mount because the NTFS partition is in an unsafe state. Please resume and shutdown Windows fully (no hibernation or fast restarting.)
The reason for this error is the unclean turn off. To fix it, umount your disk with this command.
umount /dev/vdb4
And use this command to fix the unclean turn-off problem.
ntfsfix /dev/vdb4
Then, mount your disk again.
mount /dev/vdb4 /mnt/win
Follow these commands after mounting your disk.
cd /mnt/win/Windows/System32/config/
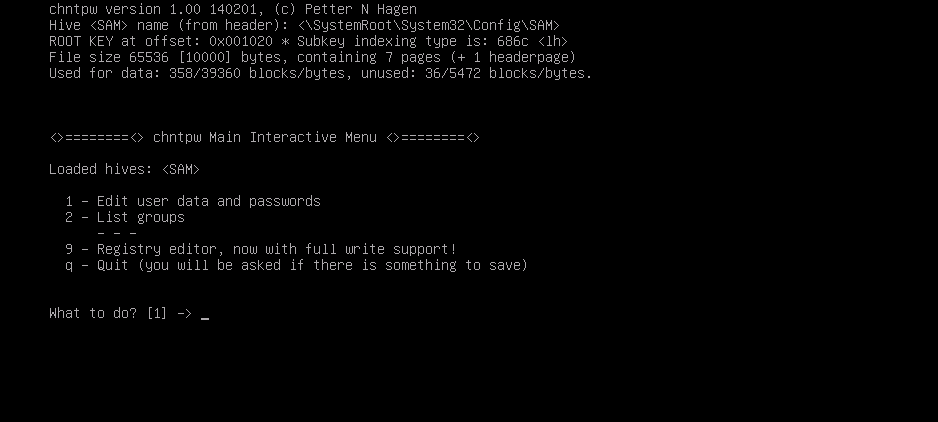
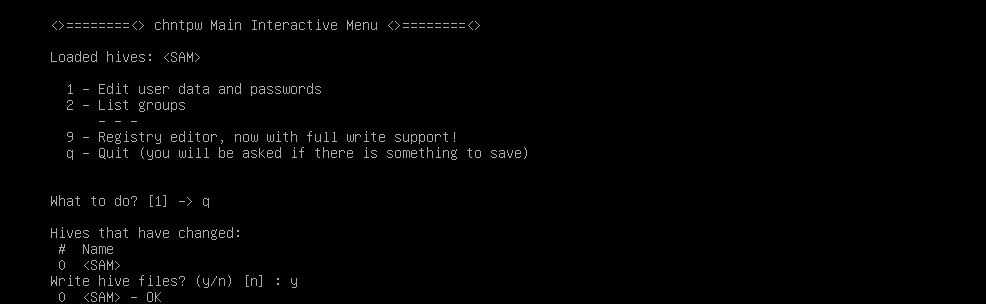
chntpw -i SAM
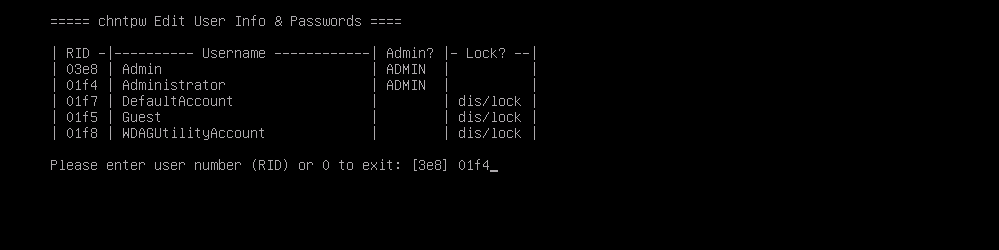
Select Edit user data and passwords on the opened window and enter the username (in the sample here, it is Administrator).
Next, select the first option to delete the user’s password. This means that after a reboot, a new password will be requested. Then, you will see the message below.
Password cleared!
![]()
Use Q and Y keys to exit the page.
Then, use the commands below to unmount the disk and reboot. You need to use your operating system’s main partition for the second command. Here, the main partition is vdb1.
cd /
umount /dev/vdb1
Exit the rescue consul to reboot the server. The instance’s password is reset, and you can create a new password when you enter the consul again.
File System Repair
If your file system is damaged, you can use the commands below to repair it:
fsck -y /dev/vda2
Backup Files and Databases
Follow these instructions for backup:
First, mount your file system.
mount /dev/vda2 /mnt
cd /mnt
Now, you can go to the directory in question and transfer your files to another instance using scp or rsync tools.
For example, the directory for mysql database file will be like the following:
/mnt/var/lib/mysql
Access through SSH
You can assign a password and activate the SSH service if you want to use the rescue disk through the SSH remote. The rescue mode must be used temporarily to fix the issues. Using this mode, in general, is not recommended.
Use passwd command for the Root user to create a password. The next command will activate the SSH service.
passwd
service ssh start