Connecting to an Instance
Once you have created your Instance, you can access it through SSH or Remote Desktop, depending on the Instance’s OS. This page helps you connect to your Instance:
Connection through SSH
SSH is a method to connect to the system’s terminal in Linux operating systems. You can enter the IP address of the OS to connect to it using various software such as Putty for Windows. Download the software and enter the IP address that supports the SSH protocol to establish a connection. In Linux OS you can use this command:
ssh INSTANCE_IP_ADDRESS
To establish SSH with your Instance. Once you have created your Instance in the Arvancloud user panel, you can connect to it with two methods:
-
Use the emailed username and password
-
Use Key
Connecting to an Instance with Username & Password
The default username to establish the first connection with the OS type is the following:
| OS Name | Default Username |
|---|---|
| Ubuntu | ubuntu |
| Debian | debian |
| Redhat | redhat |
| Centos | centos |
| Rocky Linux | rocky |
| Cirros | cirros |
You can use different tools to connect the SSH to the Instance. To use Putty, select Session from the left menu, enter the Instance’s IP address in the Host Name (or IP Address) section and check the SSH option.

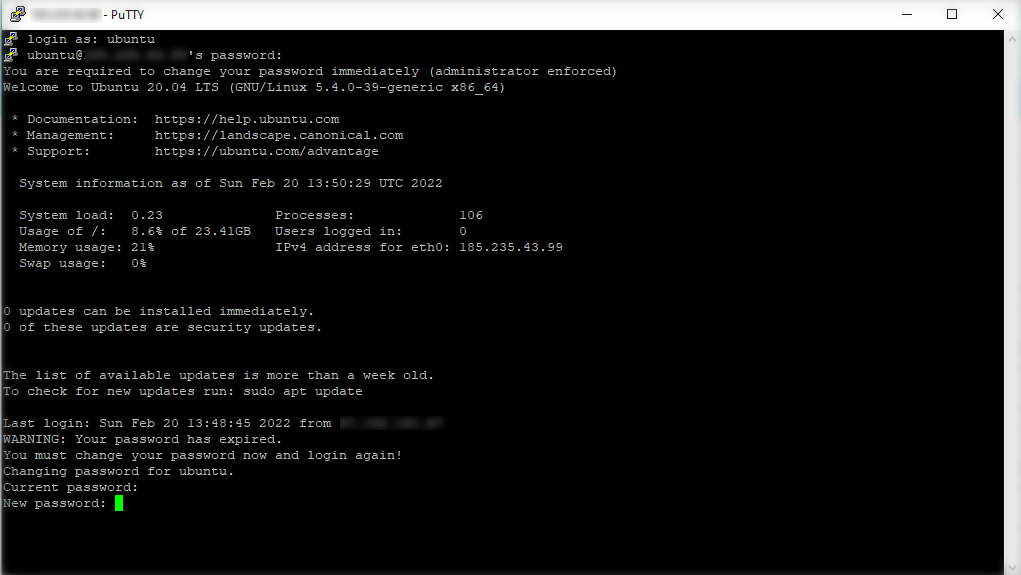
After the first connection, your system will ask you to change your username and password. First, you need to enter the password you received by email, then assign a new one to change the default password.
Activating root User
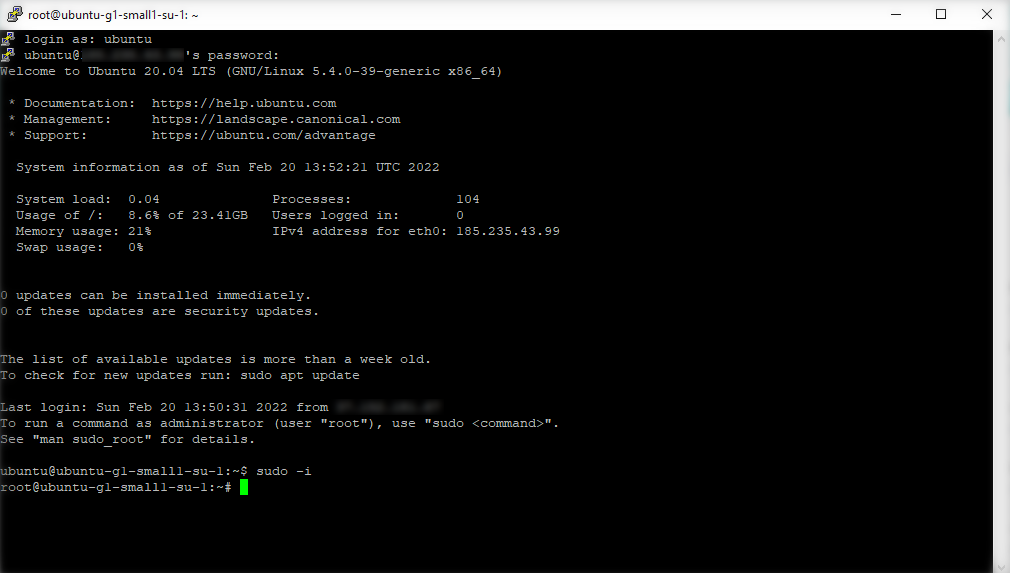
In Linux OS, after your first connection, you can activate the Root User’s SSH access to connect to your Instance in the future directly via this user. Once you have connected to the Instance for the first time, enter a new username and password and use the command below to enter the Root User interface:
sudo –i
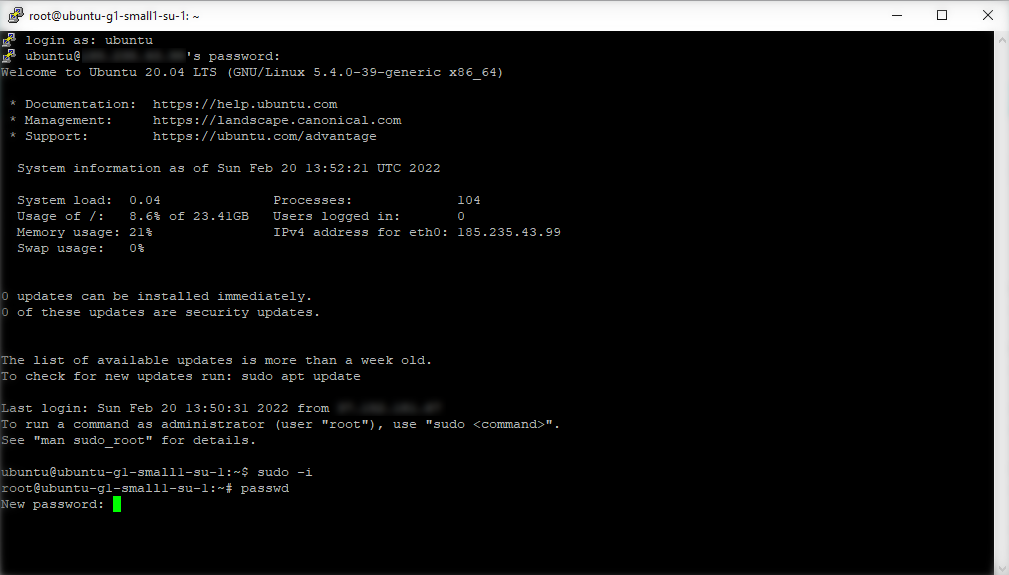
Next, set a password for the Root User with this command:
passwd
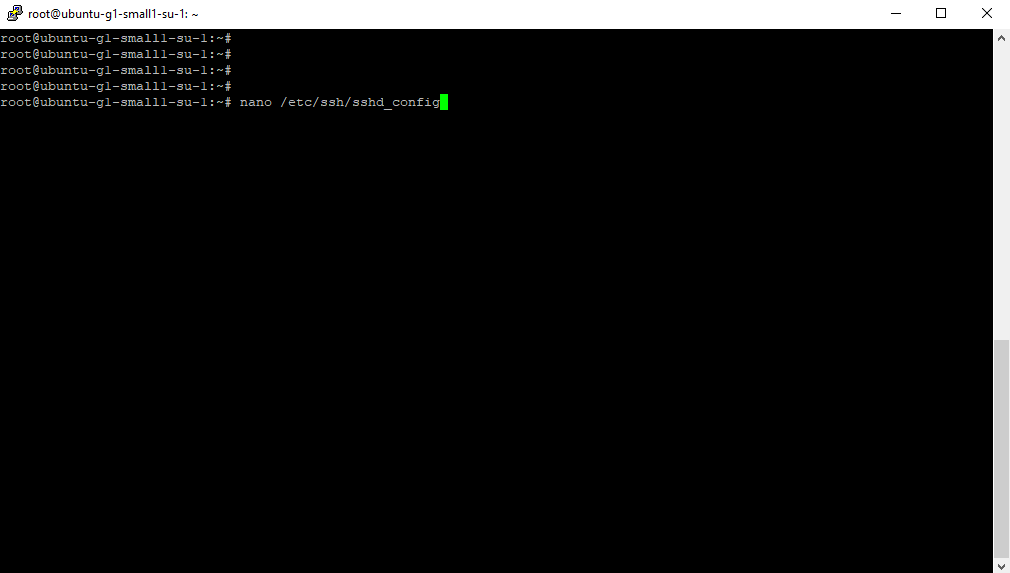
The next step is to change the default configurations of sshd_config file. Use the command below to access the file content:
nano /etc/ssh/sshd_config
Next, assign Yes for PermitRootLogin.
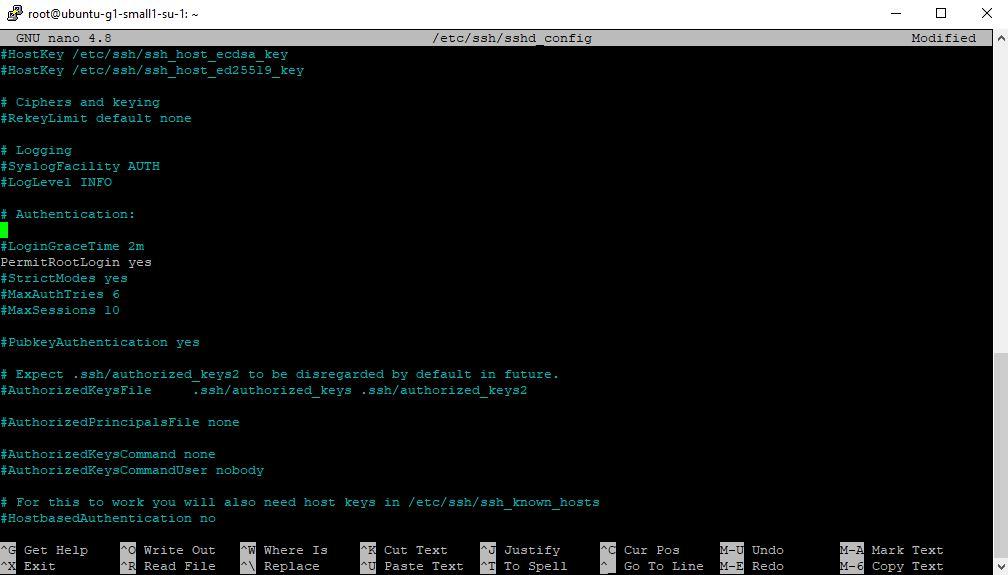
Then, to save and exit the file, press Ctrl+X then Y, and Enter. Then you need to restart your SSH server with this command:
service ssh restart
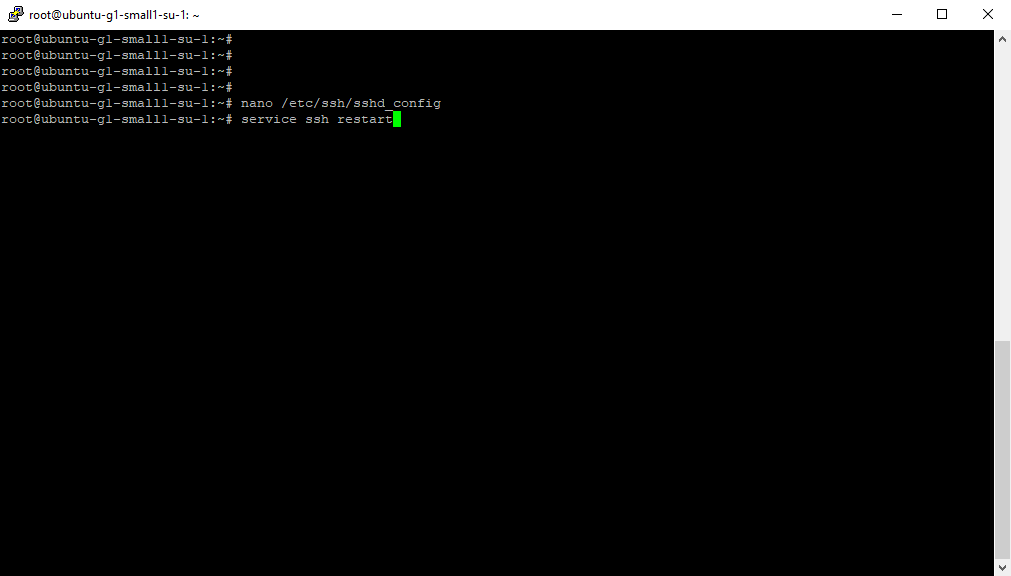
Now you can access your SSH through Root User.
Please note that if in your user panel, you select Rebuild Operating System in the Action menu of the Instance, all of the configurations will be restored to the default version. This means that you need to use the emailed username and password to connect to your Instance.
Connecting to Instance with SSH Key
To protect the user security, when you create a new Instance, if you have deactivated the Password option, no password will be created after creating the Instance. For this reason, you must enter a Public Key to establish an SSH connection with your Instance through a Private Key.
Arvancloud uses public and private encryption for the user’s initial connection. Therefore, you need to have both keys available to you before creating an Instance to be able to connect to it.
How to Create Private and Public Key
You can easily generate them from your Arvancloud user panel.
Go to the Server section of your account and click on SSH Key and select New SSH Key.

Enter your Public Key details or drag & drop your file to upload. If you do not have a public key, click on Generate New Key to create one automatically.

After this, the key will be displayed in the allocated section. Two links with .pem and .ppk formats to download your Private Key. The former file is used for Linux OS, and the latter is used for connection through the Putty software.
Finally, choose a name for your Key and save it. When you create an Instance, you can see the new key.
Also, if you already have your private key, you can upload it to your account. You upload it following the steps mentioned above in the SSH Public Key and save it. Or you can directly access these settings from the Create New Instance section.
Connecting to Instance with Key
Now that you have created both your Key and your Instance, you need to connect to it. Open the Putty software and follow the instructions below.
Firstly, enter the Instance’s IP address in the user panel.
Next, select your Private Key by clicking on the Browse option, as it is shown in the picture.

Finally, click Open and wait for the connection with your Instance to be established.
Connecting to Instance via Remote Desktop
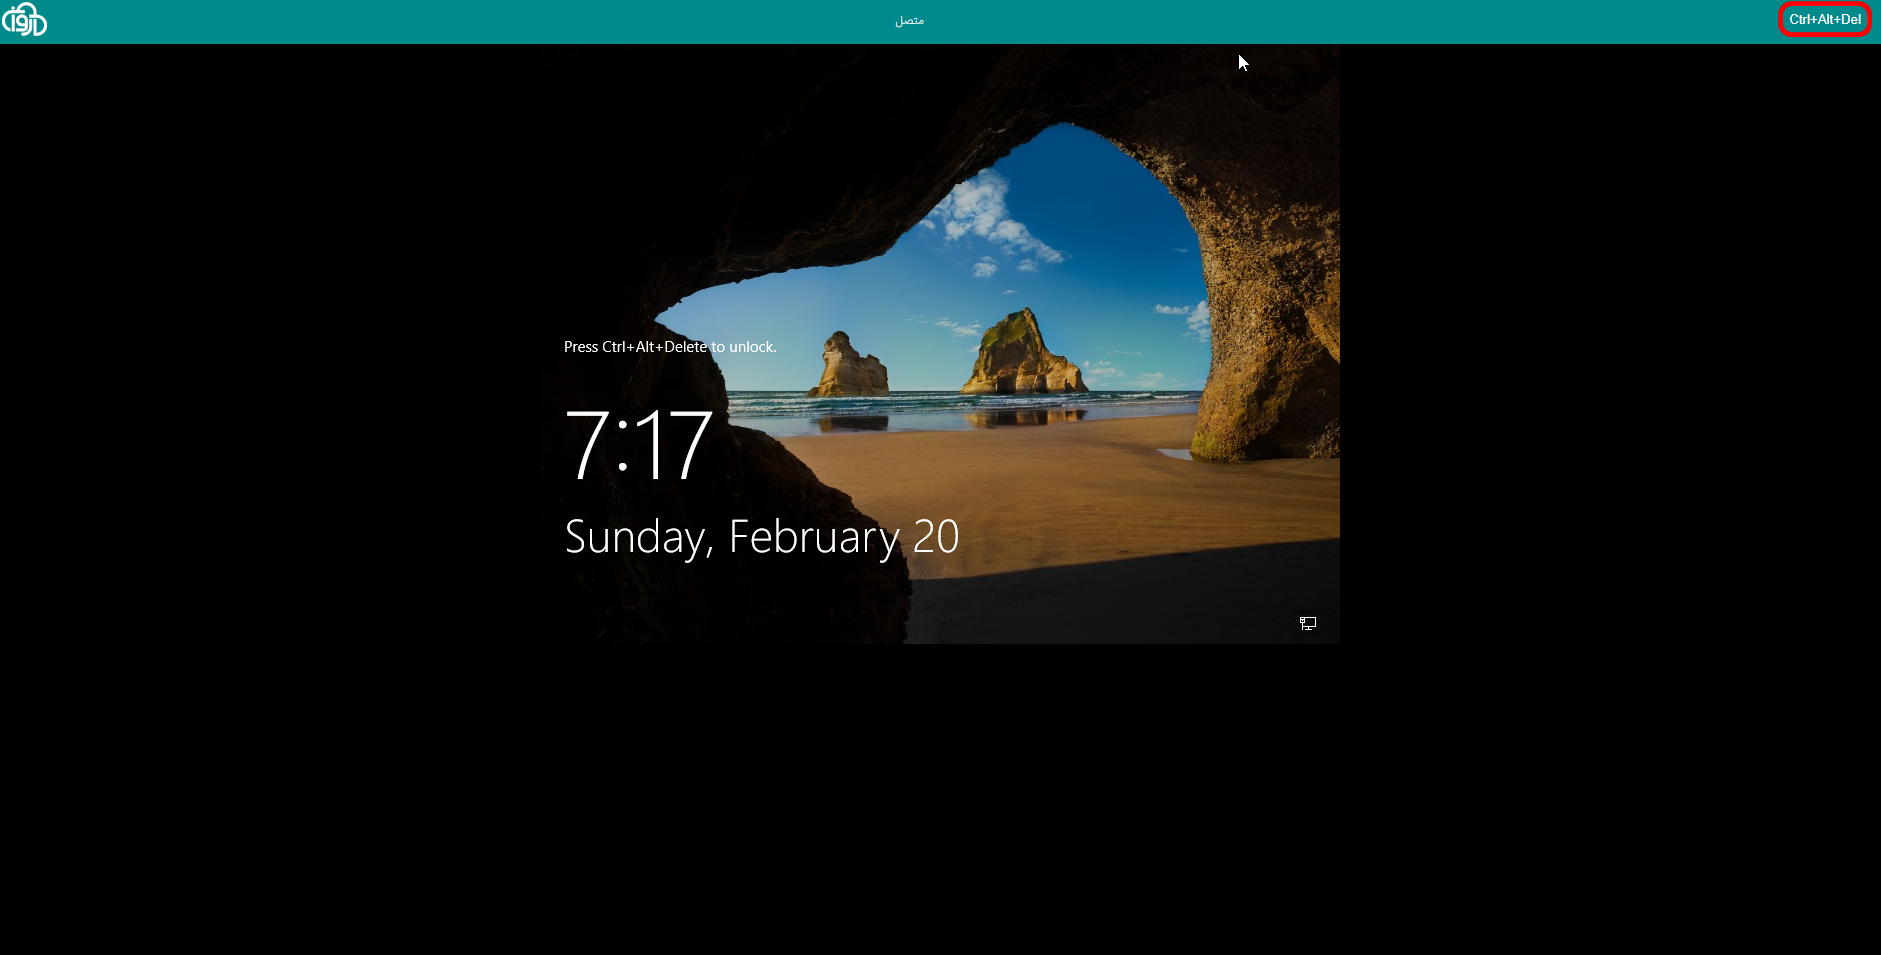
You need to use a console for your initial connection to your Instance on Windows. Go to the IaaS section of your user panel, then select console from the menu in front of the Instance Name. Then, you will see a window like this. Pressing Ctrl+Alt+Del will open the Windows login page.
Once you have logged in, the system will ask you to change your password.
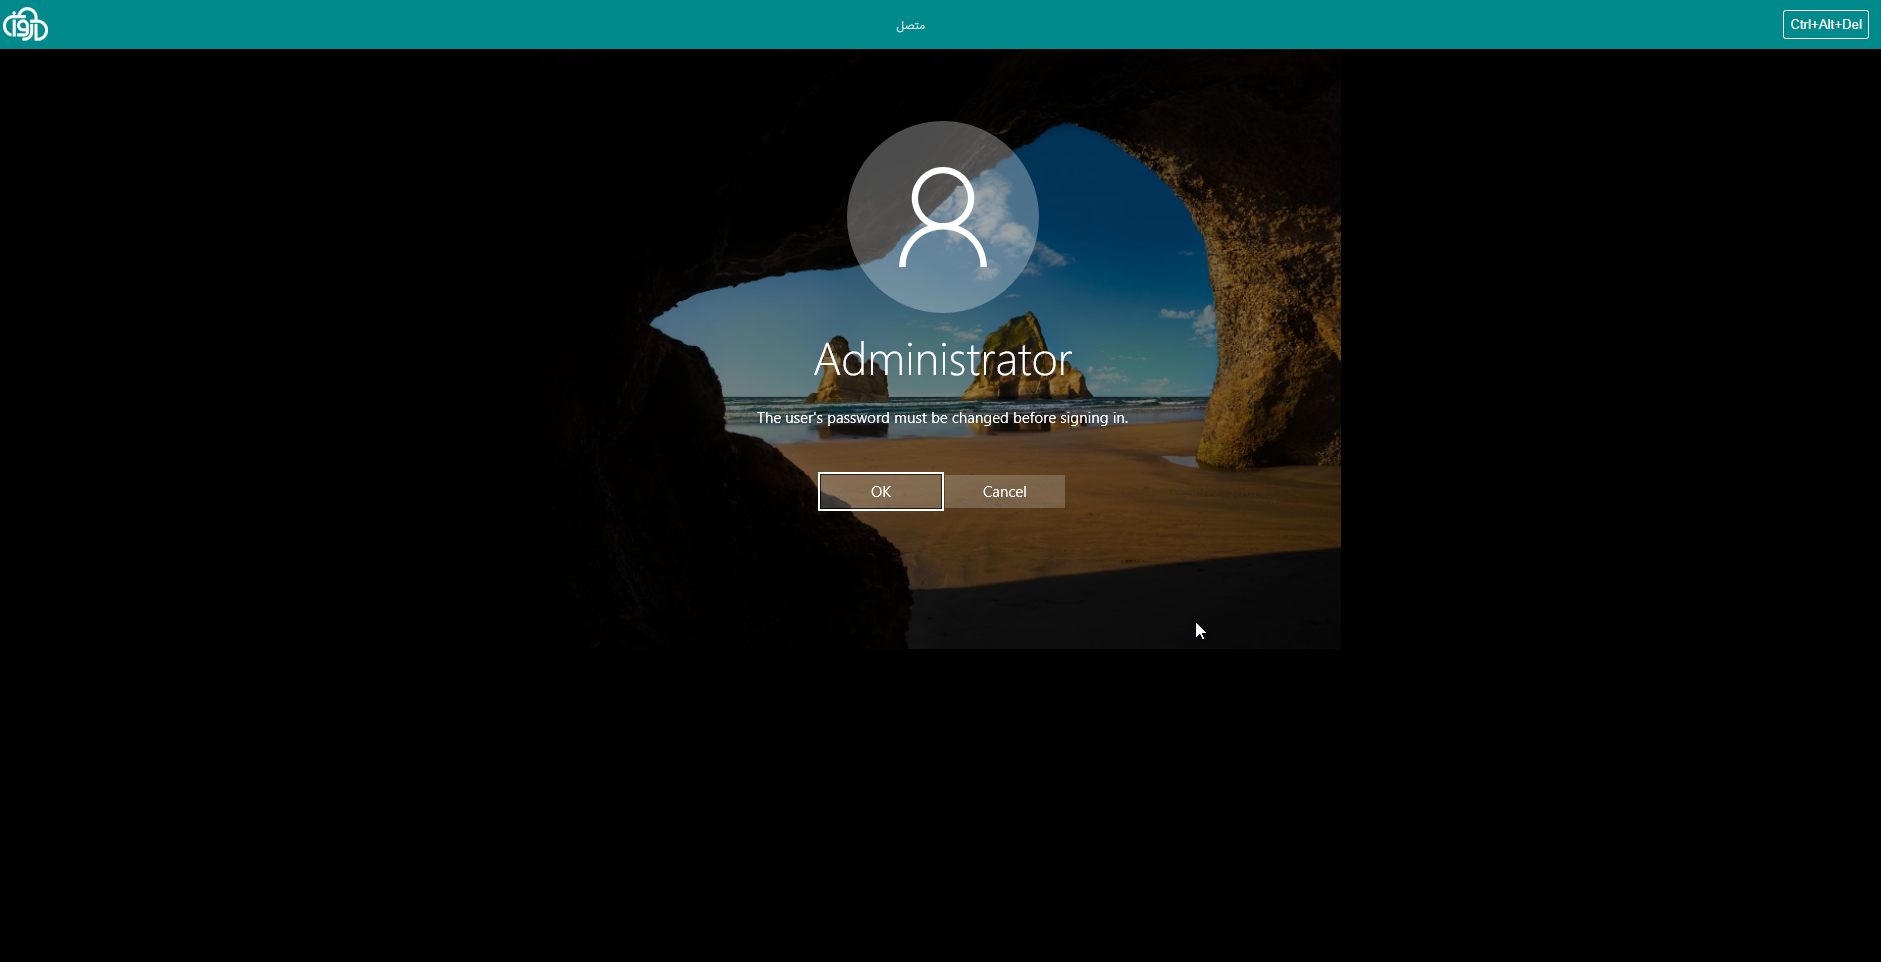
After changing your password, you can enter the Windows environment. Your password must be complex (having capital and small letters, characters, and numbers).
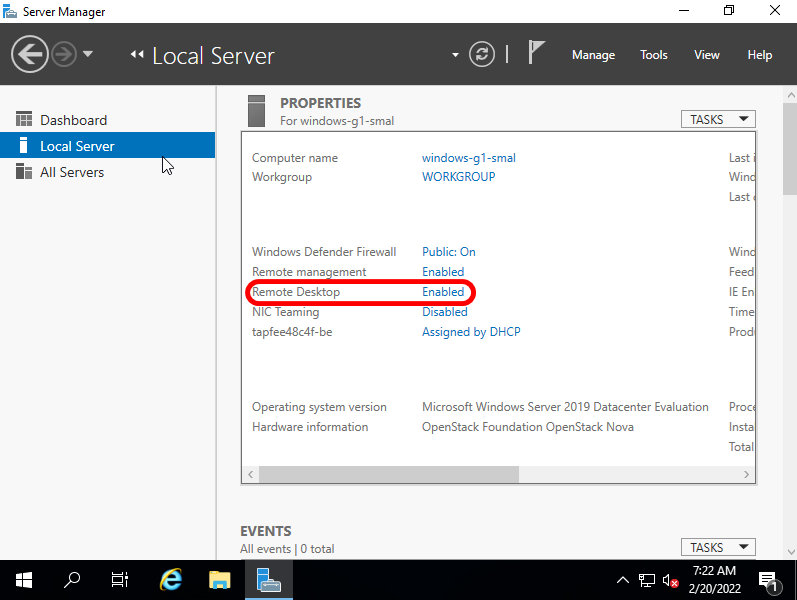
Now, you can access your Instance through Remote Desktop Connection. First, make sure that this option is active on the Windows server of your Instance. For this purpose, go to the Server Manager from Start Menu. From the left menu, select Local Server and enable the Remote Desktop option.
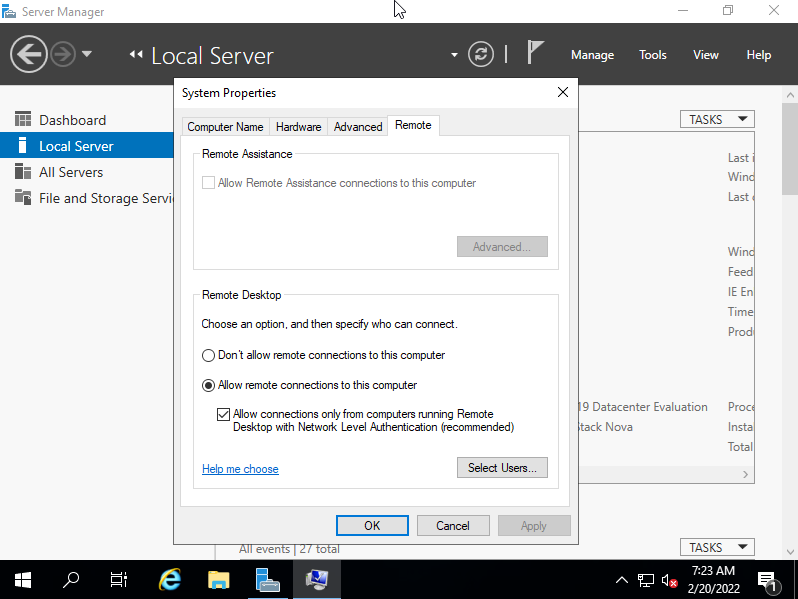
To enable, check the Allow Remote Connections to This Computer and apply the changes.
Now, you can connect to your Instance with Remote Desktop.
Remote Desktop Connection
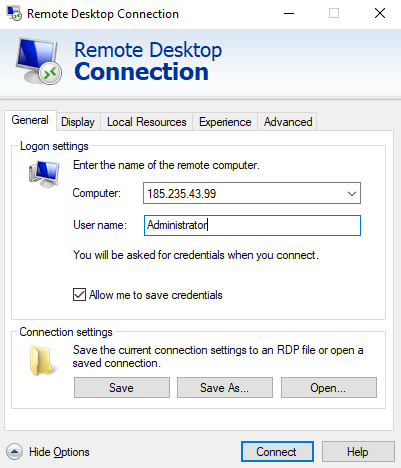
To access your Instance through Remote Desktop, press the Windows key and R and type mstsc.
Enter your Instance’s IP address in the opened window. Then, click on Show Options. Enter Administrator for the Username. You can also save the login info by checking the Allow me to save credentials option. This way, you would not need to enter the username and password again and would only click on Connect.
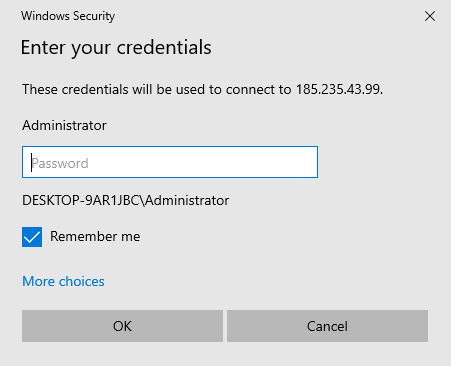
Next, enter the password for the initial connection to Instance and click on OK.
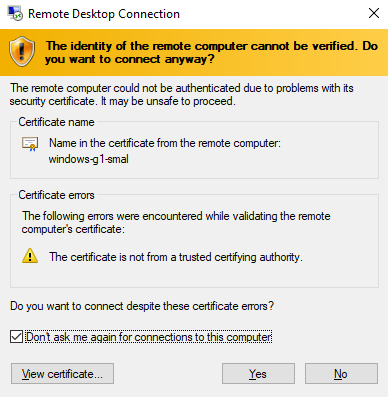
If another window opens, such as the picture below, check Don’t ask me again for connections to this computer and select Yes.
Finally, you can use RDP to connect to your Instance.