Domain
The first step in activating our CDN service is registering your domain in your Arvancloud account. Here, we will guide you through the steps: After registering on the website and entering the user panel, go to the CDN section of your account, Domain List and select Add new Domains.

Enter your domain's address without www and click Continue. If you want to transfer only the traffic of a subdomain to Arvan Cloud using the CNAME setup method, enter the name of the subdomain.
After fully reading the terms of use of the service, click on the option to continue and accept the rules.

If you intend to add a subdomain, in this step you will be asked to choose your Domain Traffic Transfer type from NS Delegation or CNAME Setup.

Adding Domain via API
If you want to add your domain via API instead of User Panel, you can use the following sample requests:
With NS Delegation:
curl --location 'https://napi.arvancloud.ir/cdn/4.0/domains/dns-service' \
--header 'authority: napi.arvancloud.ir' \
--header 'accept: application/json, text/plain, */*' \
--header 'authorization: API KEY 1 2 3 4' \
--header 'cache-control: no-cache' \
--header 'content-type: application/json' \
--data '{"domain":"arvandocs.ir","domain_type":"full"}'
With CNAME Setup:
curl --location 'https://napi.arvancloud.ir/cdn/4.0/domains/dns-service' \
--header 'authority: napi.arvancloud.ir' \
--header 'accept: application/json, text/plain, */*' \
--header 'authorization: API KEY 1 2 3 4' \
--header 'cache-control: no-cache' \
--header 'content-type: application/json' \
--data '{"domain":"cname.arvandocs.ir","domain_type":"partial","plan_level":2}'
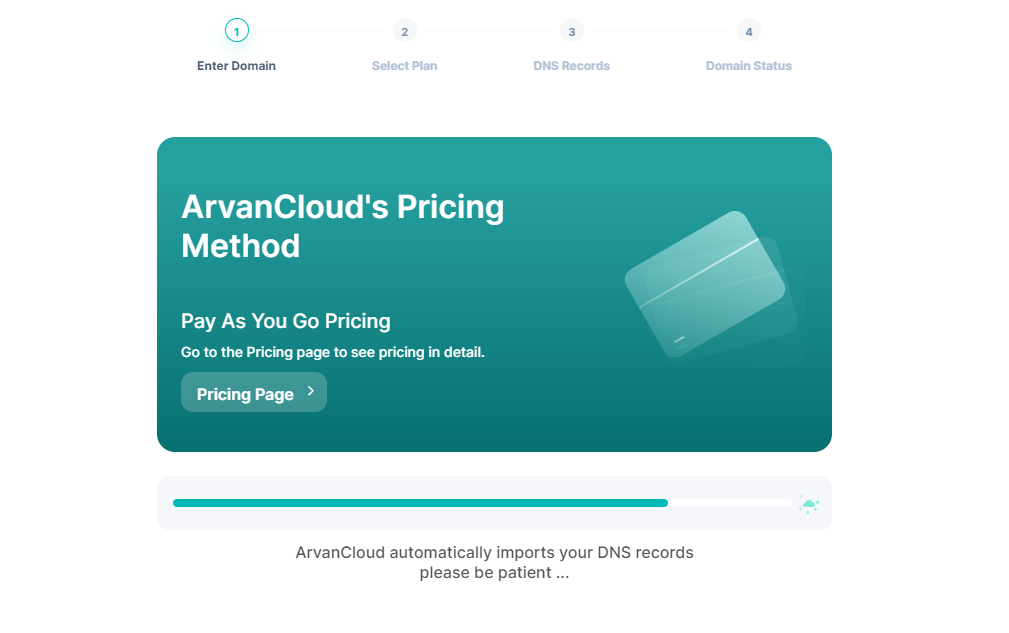
You will come across a window like the following:

Now you have to choose a Plan for your domain. You can also check out more details about plans on our CDN pricing page.

Choosing a Plan via API
To choose a plan via API you can use the following sample request. In this request, the value 1 for the basic plan, 2 for the growth and 3 for the professional should be assigned to the plan_level key.
curl --location --request PUT 'https://napi.arvancloud.ir/cdn/4.0/domains/arvandocs.com/plan' \
--header 'DNT: 1' \
--header 'sec-ch-ua-mobile: ?0' \
--header 'authorization: API KEY 1 2 3 4' \
--header 'Content-Type: application/json' \
--header 'Accept: application/json, text/plain, */*' \
--data '{"plan_level":"2"}'
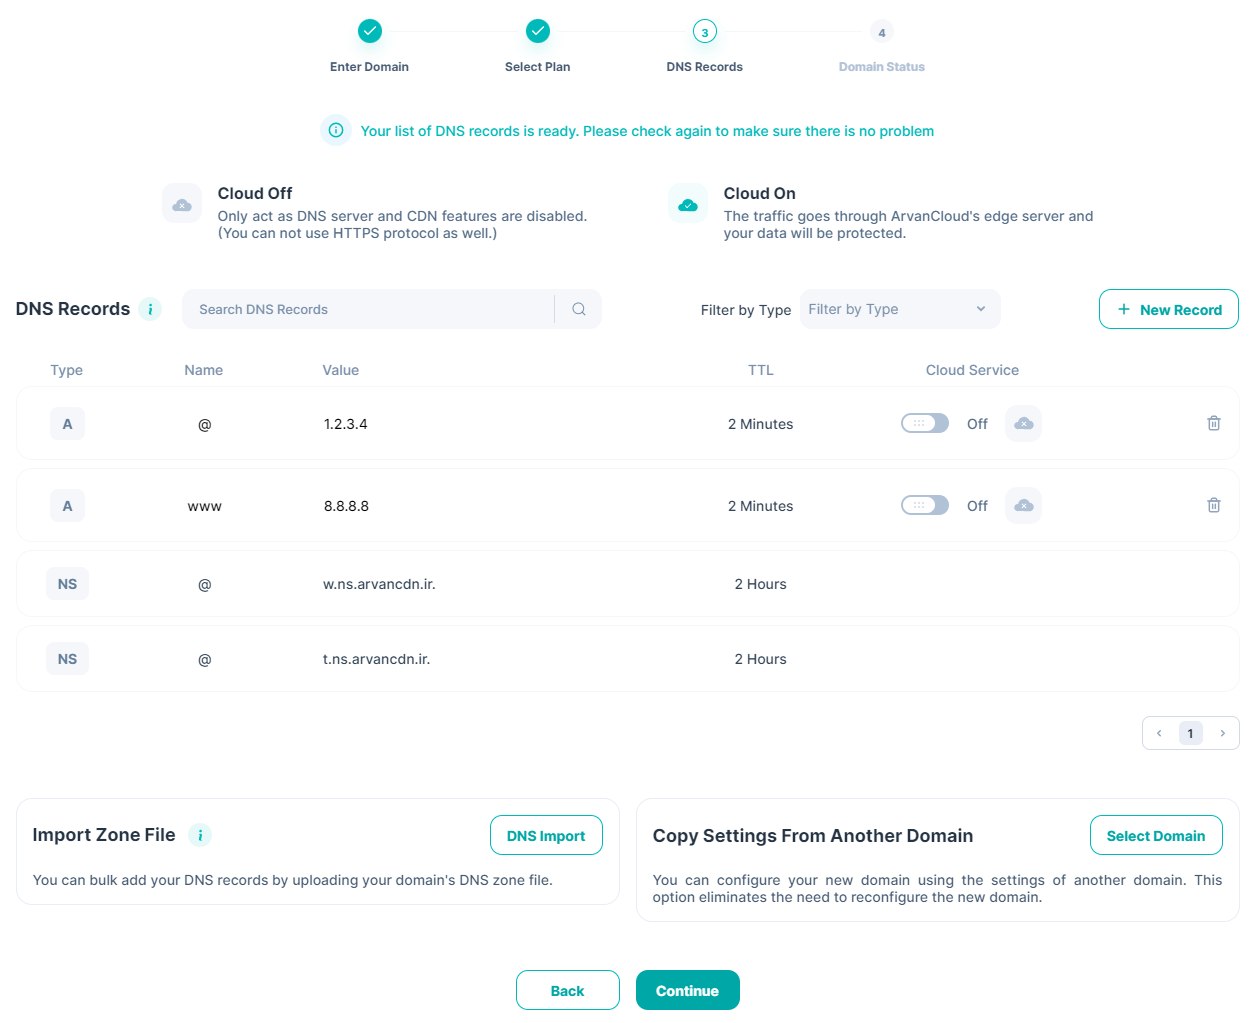
Next, a window showing your domain records will open on the screen. Check these records and IPs and once you are sure they are correct, click on Continue.

In this section, you can copy the new domain settings from another domain that you previously registered in your user account or enter the domain's Zone File.
Pay extra attention to the A record values. The values must be your website's hosting server IP.
Cloning Domain Configuration via API
To clone your domain configurations from another one via API you can use the following sample request:
curl --request POST \
--url https://napi.arvancloud.ir/cdn/4.0/domains/arvantest.ir/clone \
--header 'Accept: application/json' \
--header 'Authorization: Apikey 1 2 3 4' \
--header 'Content-Type: application/json' \
--data '{
"from": "string"}'
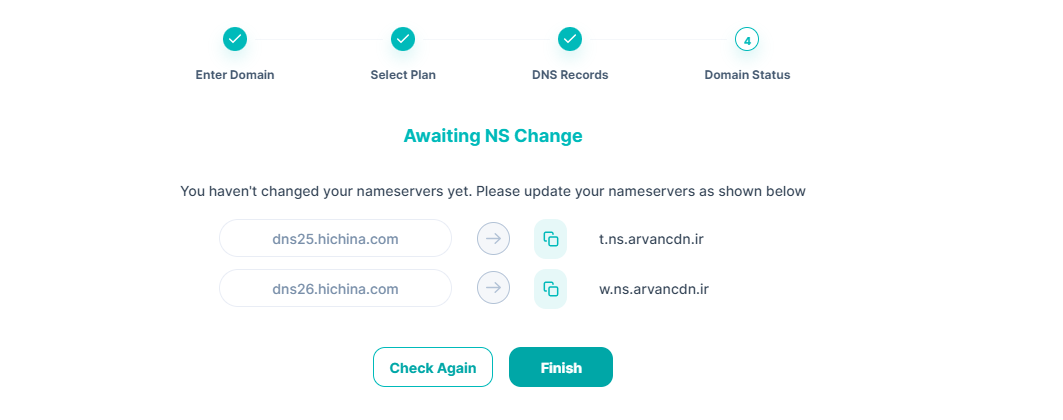
Next, if you choose NS Delegation to transfer domain traffic, you need to change your NSs to Arvancloud NSs. Before changing these records to the NS records set by Arvancloud, you must first define all the records related to your domain in the "DNS records" section of the CDN menu in the user panel.

Also, if you used the CNAME Setup method to transfer the traffic of a subdomain to Arvancloud, you must enter the CNAME record provided in the panel in your DNS service.
Domain activation may take up to 24 hours depending on the domain registrar.
You can use the NSLookup or dig command website to check the domain settings.


